In this guide we’ll show you everything there is to know about the Glow, an irradiated West Tek research facility located in the southeastern corner of the world map.
Introduction
The Glow is an optional area in the far southeast of the Fallout world map. It is extremely radiated, so before coming here make sure to have a couple Rad-X’s and RadAways on your character, and a Rope for descending its depths. On your way here, stop just shy of the green circle that marks the Glow on your world map. Enter the area and apply two Rad-X. This will give you 100% radiation resistance for 24 hours, plenty of time for your stay in the Glow, providing you are careful with any skill books that you find (which take hours to read). You’ll also find more Rad-X and RadAway inside depending on how far you decide to go.
Your main goal in the Glow, apart from finding the massive weapon and armor stash (with Plasma Rifle) on the last underground level you reach, is to find the holodisk of a Brotherhood member on the 1st underground level required for the entrance into the Brotherhood. After that, it’s up to you if you feel like venturing further, but there is a lot of potential xp to be reaped.
All the underground levels other than the 1st require an elevator to reach, and every elevator requires a pass key of a particular color: yellow, red or blue. You’ll find these pass keys on levels 1, 2 and 4. Level 1 has the Yellow Pass Key, level 2 the Red Pass Key, and level 4 the Blue Pass Key. If you do not have the right pass key, then you’ll be electrocuted for low damage each time you try to use an elevator. Read on for exact instructions.
Glow Areas
Entrance: a small exterior area with a gaping crater. Attach your rope to the beam on the western side to descend
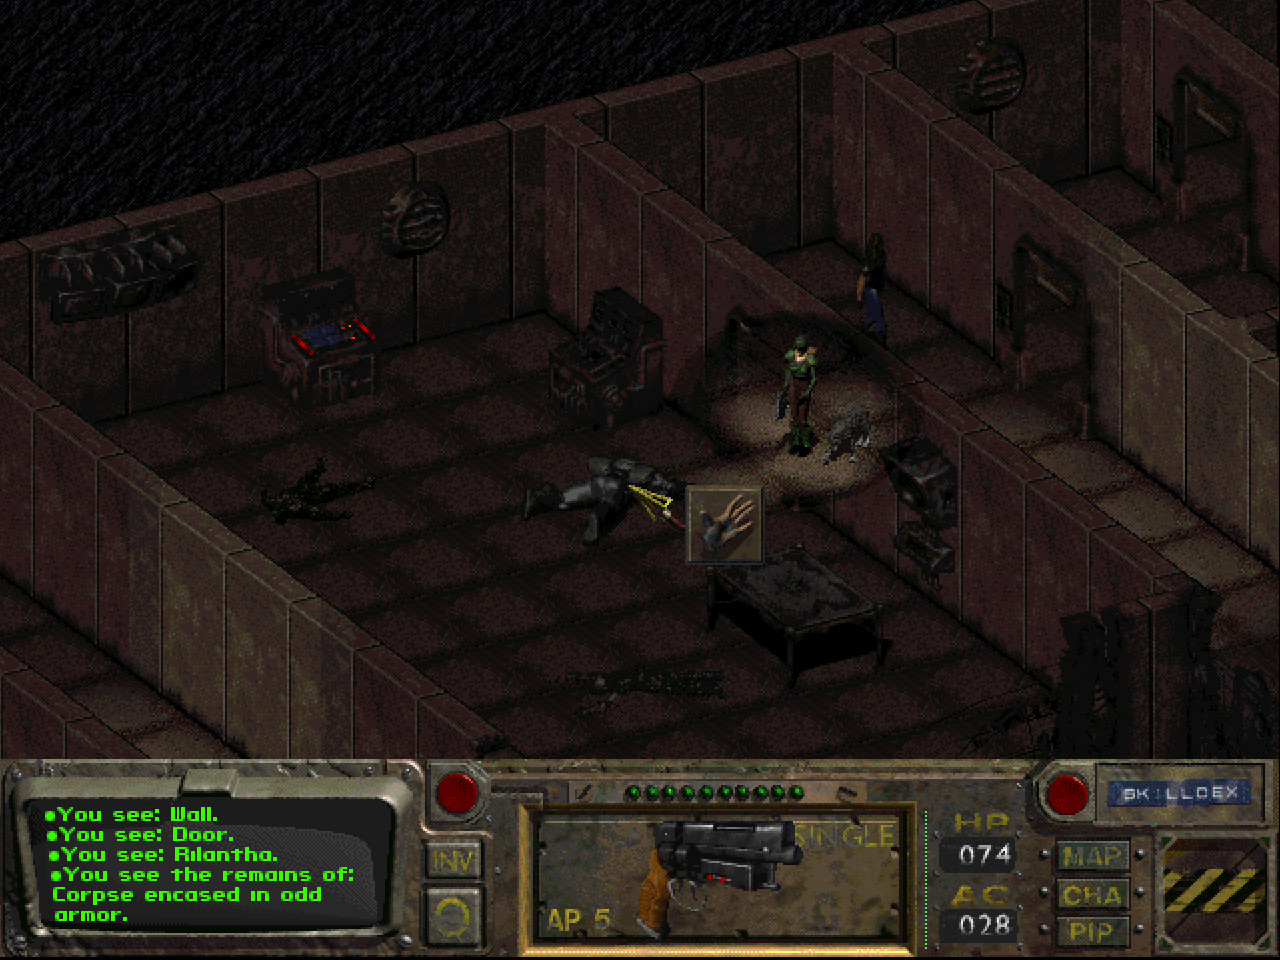
Level 1: the Yellow Pass Key is found this level
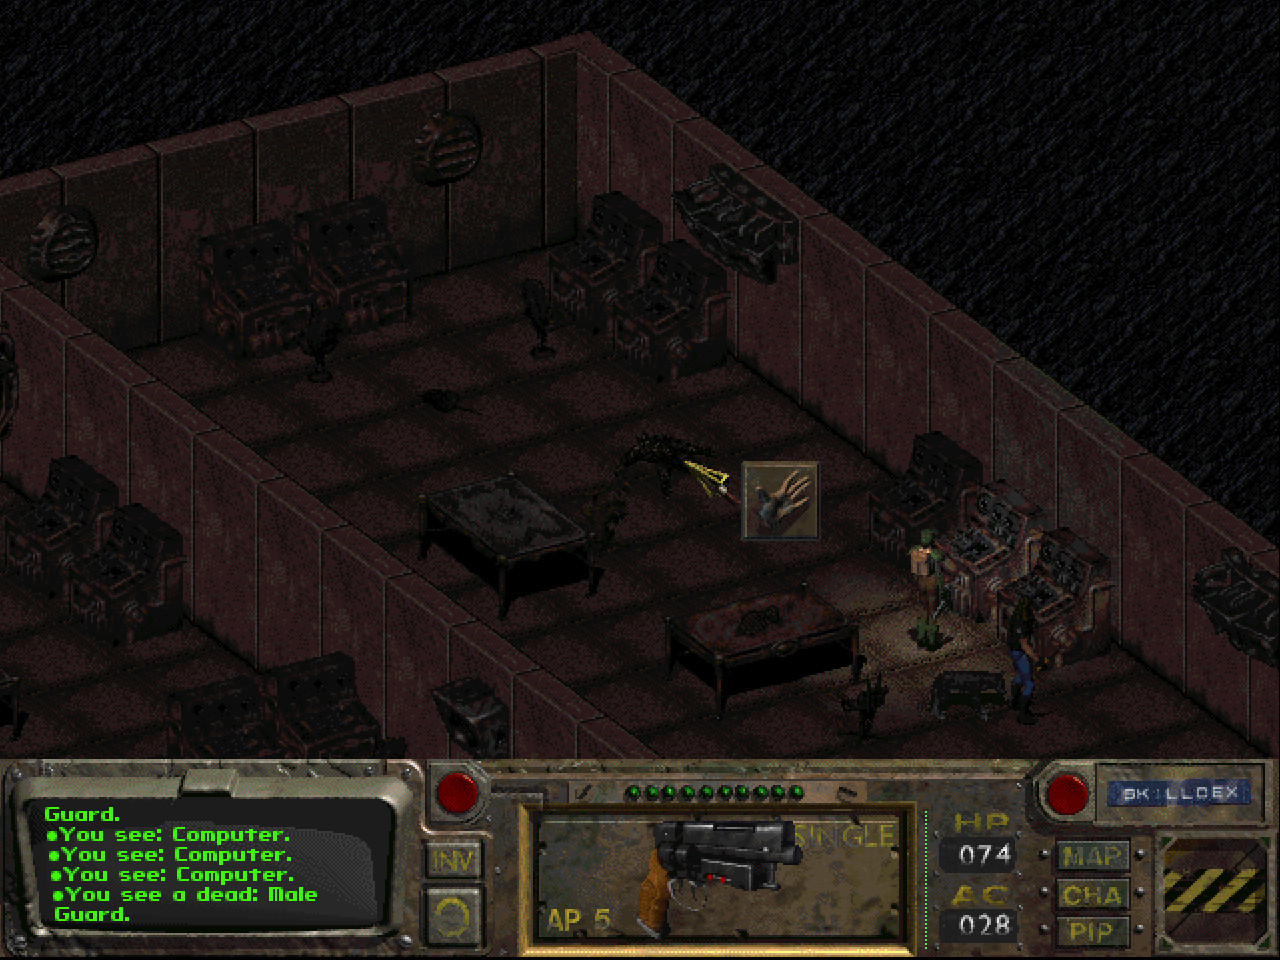
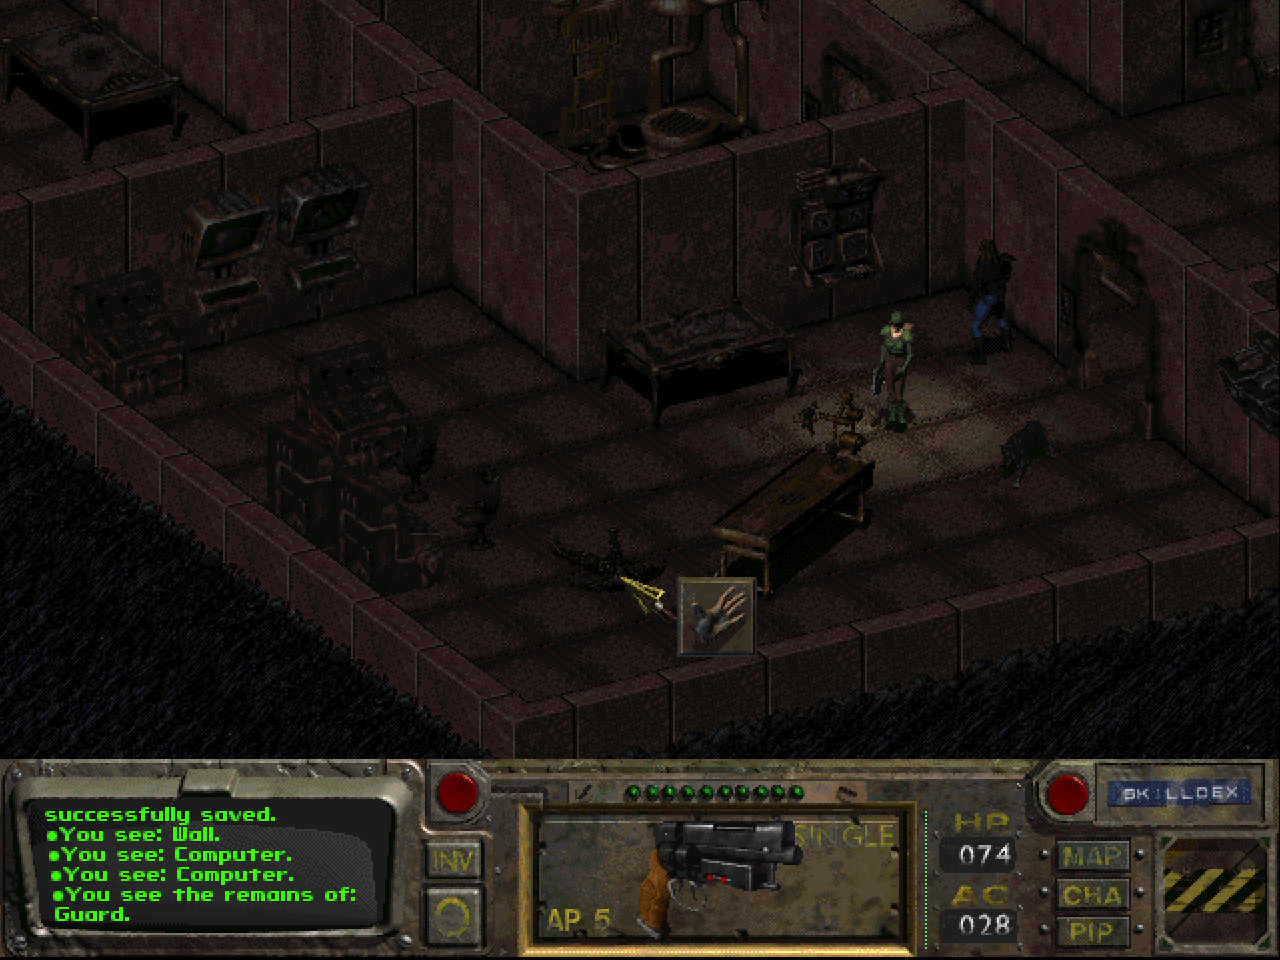
Level 2: the Red Pass Key is found on this level
Level 3
Level 4 (Research Facility): the Blue Pass Key is found on this level. Zax is here as well
Level 5 (Secure Testing Labs)
Level 6 (Barracks and Central Operations): the power mainframe is here
Yellow Pass KeyRed Pass KeyBlue Pass KeyWhere to find the pass keys in the Glow
There are three elevators in the facility, color coded by their security level. Each elevator requires a pass key. The elevators are protected by electrical fields, and you can only disarm them by using the proper pass key on them. If you try to open an elevator without disarming it first, then you’ll take minor electrical damage. The elevators are described below:
The first elevator, which moves between levels 1, 2 and 3, requires a Yellow Pass Key. You’ll find this pass key on the dead Brotherhood soldier on level 1. This elevator can function using secondary power.
The next elevator, which moves between levels 3, 4 and 6, requires a Red Pass Key. You’ll find this pass key on a dead male guard on level 2. This elevator can also function using secondary power.
The final elevator, which moves between levels 4, 5 and 6, requires a Blue Pass Key. You’ll find this pass key on a dead guard on level 4. This elevator requires primary power, which can only be activated on level 6.
On level 4, you’ll meet Zax, the computer in charge of the facility. It can tell you a lot about the research that was being conducted here — namely, the Forced Evolutionary Virus (FEV), which you might recognize as the source of the super mutants. After restoring primary power on level 6, you can return to Zax, request access to the mainframe, and order it to deactivate the security robots. You’ll need the Science skill for this, and you might need to try multiple times before Zax executes the command. If Zax refuses the command, then you’ll lose 5 hours of game time, which might be bad news depending on how much Rad-X you have, so save first. You can also play chess with Zax, but you’ll always lose (because the winning condition is broken).
On most levels of the facility, you’ll encounter deactivated sentry robots, usually in one of the rooms near the elevators. These robots will activate and attack you when you turn on the primary power, but there are a couple ways to deal with them, rather than engaging them in a fair fight:
You can kill the robots while they’re deactivated. They won’t fight back, so the battles will be easy. You’ll earn full battle xp this way — that’s 175-300xp per robot — and you’ll be able to loot their corpses.
After restoring primary power, you can return to Zax on level 4 and order it to deactivate the robots. With enough Science, Zax will comply, and the robots will return to being deactivated, giving you another chance to kill them that way. We’ve also heard that you can use the Science skill on deactivated robots while the power is on, and earn 100xp each time, but this didn’t work for us.
Another thing you’ll encounter on most levels is the occasional trap which has a chance to damage you regardless of what you do.
As for the main reason you are here, the Brotherhood quest to find the tape, it is on the 1st level. Just walk around to the large room above the gigantic hole in the ground, taking some possible damage from the traps, and search the dead Brotherhood soldier in power armor. You’ll find a Yellow Pass Key and the Brotherhood Tape. The tape is actually a holodisk that you can read for 100xp. You can continue down after this for the xp and rich rewards, or leave since your main task is done. If you’re going to continue, search every locker and corpse for valuable items.
Glow Quests
Here is a list of the significant quests in the Glow, each with a brief synopsis containing at least one way to solve it. The remaining ways, and possibly other minor quests I will leave up to you.
Restore Power to the Facility
On Level 6, you’ll find a group of generators next to a computer. The generators will start out off-line. You can activate them by using the Repair skill on one of them (perhaps using a Tool to give yourself a better chance). If you’re successful, then the generators will come on-line, and you’ll gain 1000xp. Then to turn on the primary power in the facility, you’ll need use the computer next to the generators (or some other working computer in the facility). With primary power restored, all the lights will come on in the facility, any security robots still around will turn hostile (so watch out!), and you’ll be able to take one of the blue elevators to level 5, provided you have the Blue Pass Key from level 4.
Find the Weapon & Armor Cache
The cache is on level 5. The only way to reach it is to find the Blue Pass Key on level 4, restore primary power on level 6, and then take the blue elevator to level 5. Once you’re there, the robots on this level will attack (unless you ordered Zax on level 4 to deactivate them), so be prepared.
In the southeast part of the level, you’ll see a long row of wall panels and several tall lockers. Open each of them to get your fill of weaponry and armor, including Combat Armor, a Minigun, and a Plasma Rifle. You’ll even find a Stealth Boy. It’s simply awesome for this time in the game. Especially pay attention to the Plasma Rifle if you’re planning on Energy Weapons. Once you upgrade it to the Turbo Plasma Rifle in Adytum (the Boneyards), you’ll have the best weapon in the game, very capable of taking out virtually any enemy in one critical shot. Make sure to give the excess to your companions to hold if you want some barter power later. By now, you should be filthy rich in weapons and armor, and have virtually no more need for money.
On your way out of the complex, don’t forget that there may be active robots on every level if you left them alone on your way down. Your next destination will be The Brotherhood of Steel. Return to the Hub before that to unload your stash of weapons and armor in preparation for the best armor in the game.