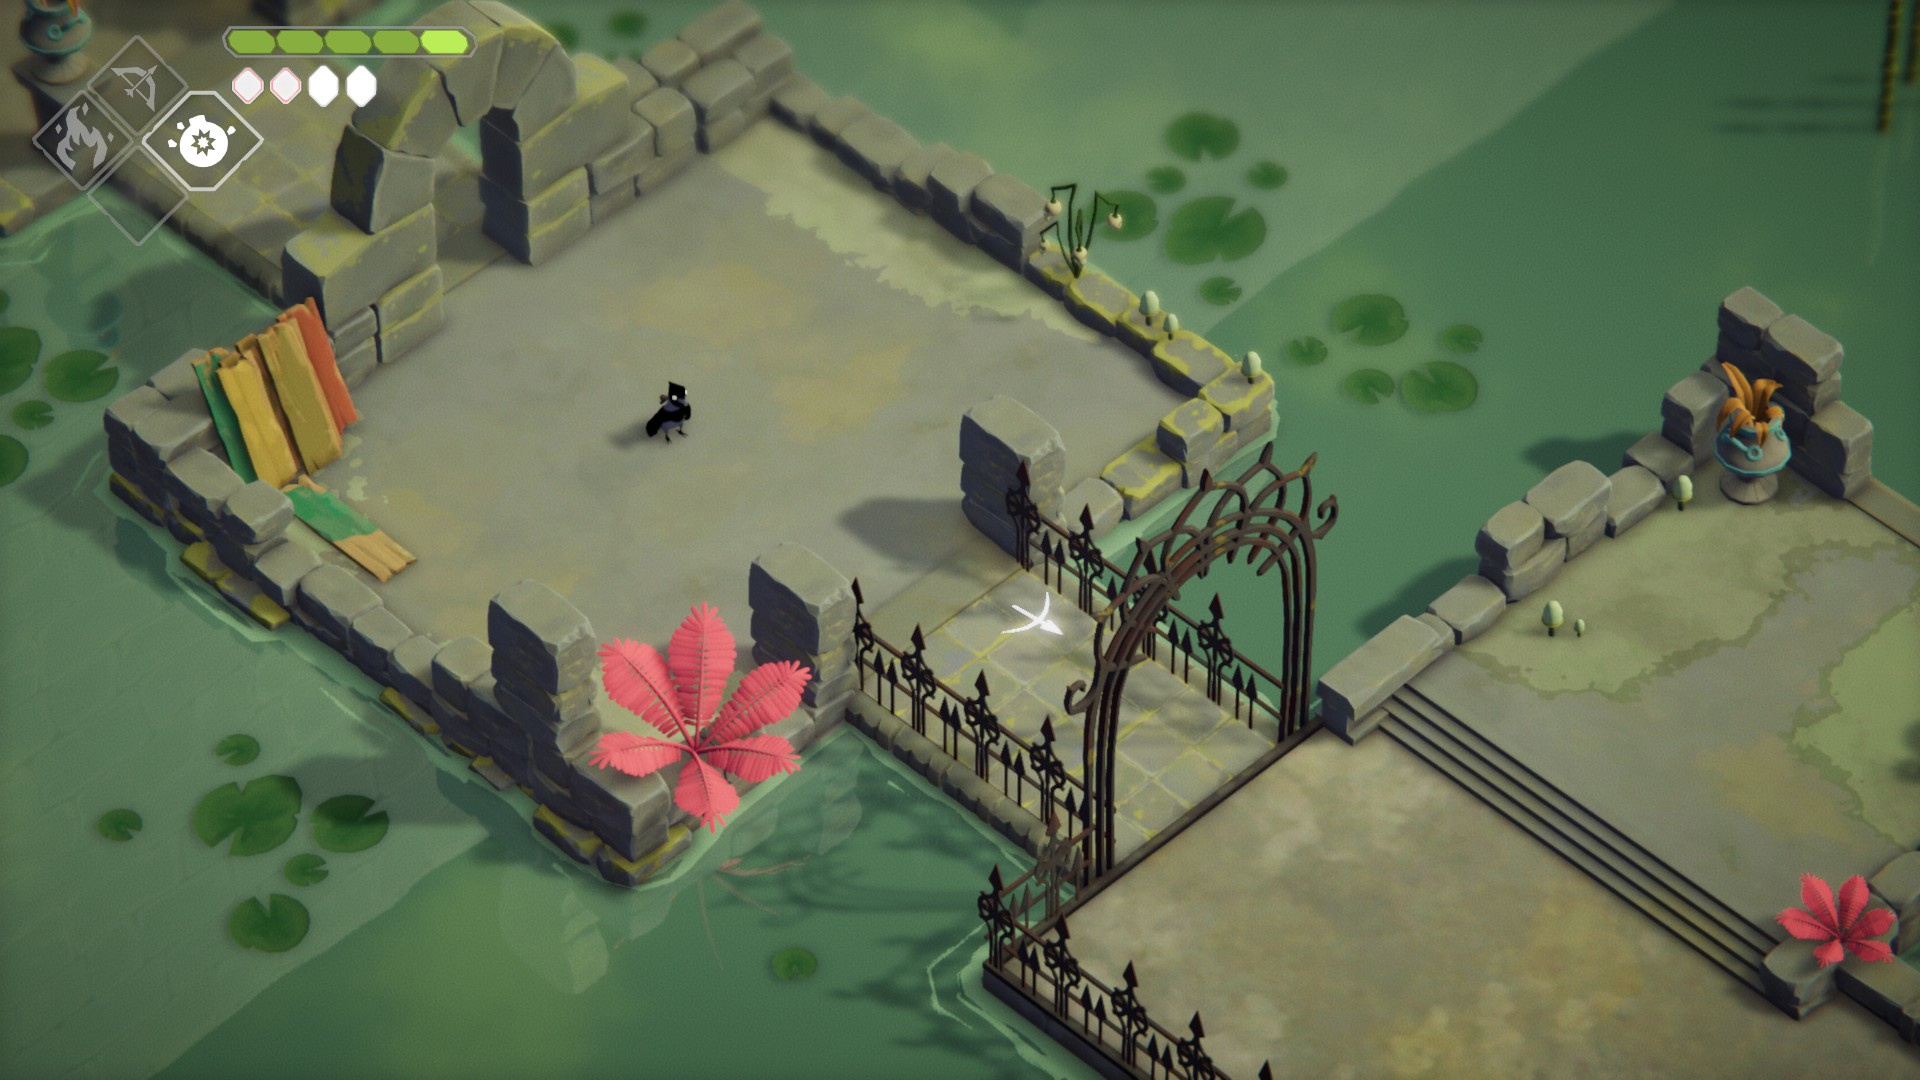
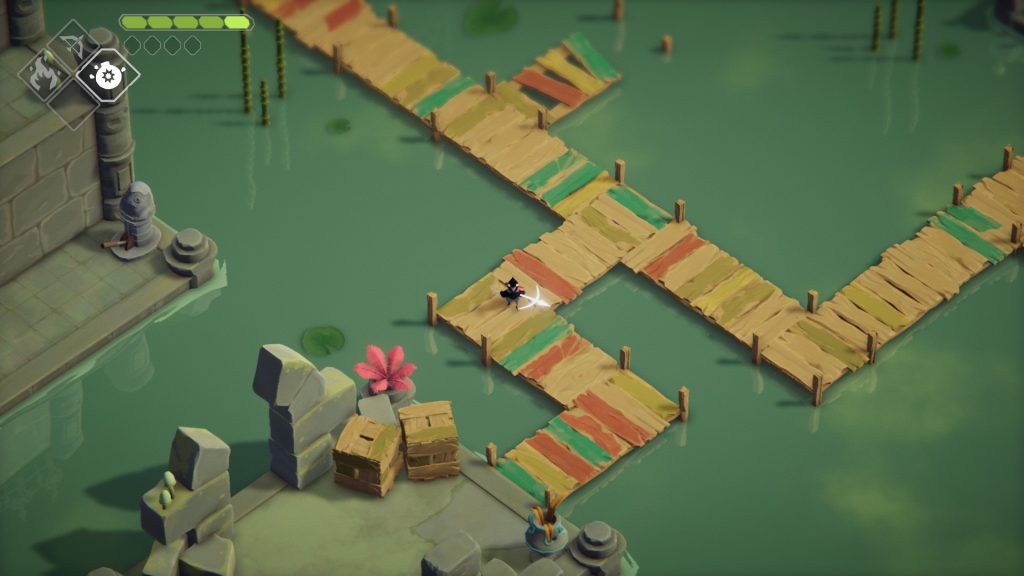
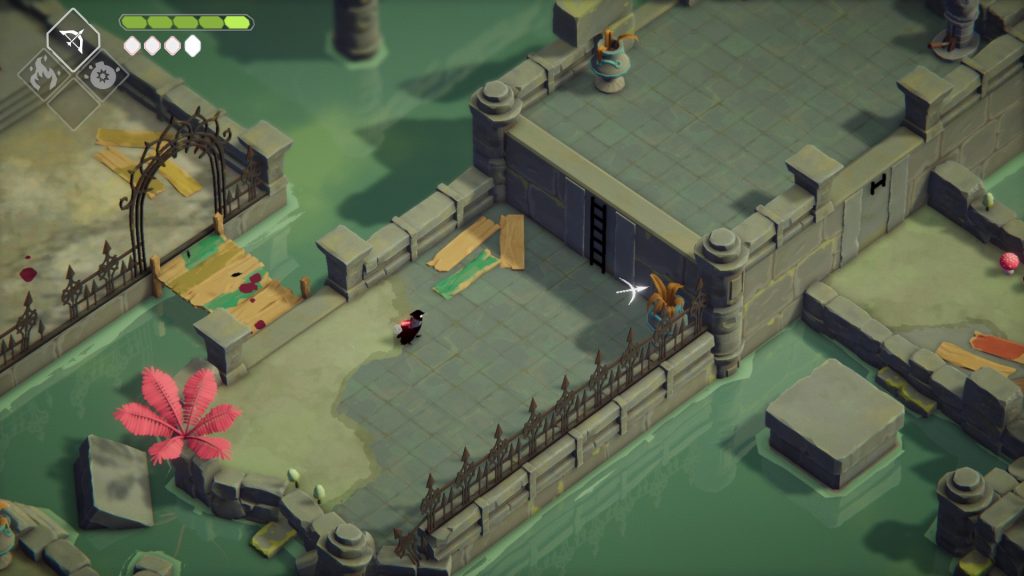
Head southeast (the only real way forward) until you find a couple of boxes — break them and grab the Life Seed beneath them. Then continue over the wooden bridge and continue until you reach a flat-topped cone that glows pink — smack it with a weapon and then cross the bridge that appears. Note that you’ll need to use a pink weapon to hit the cones (thanks to EIP user Skippy! for noticing).
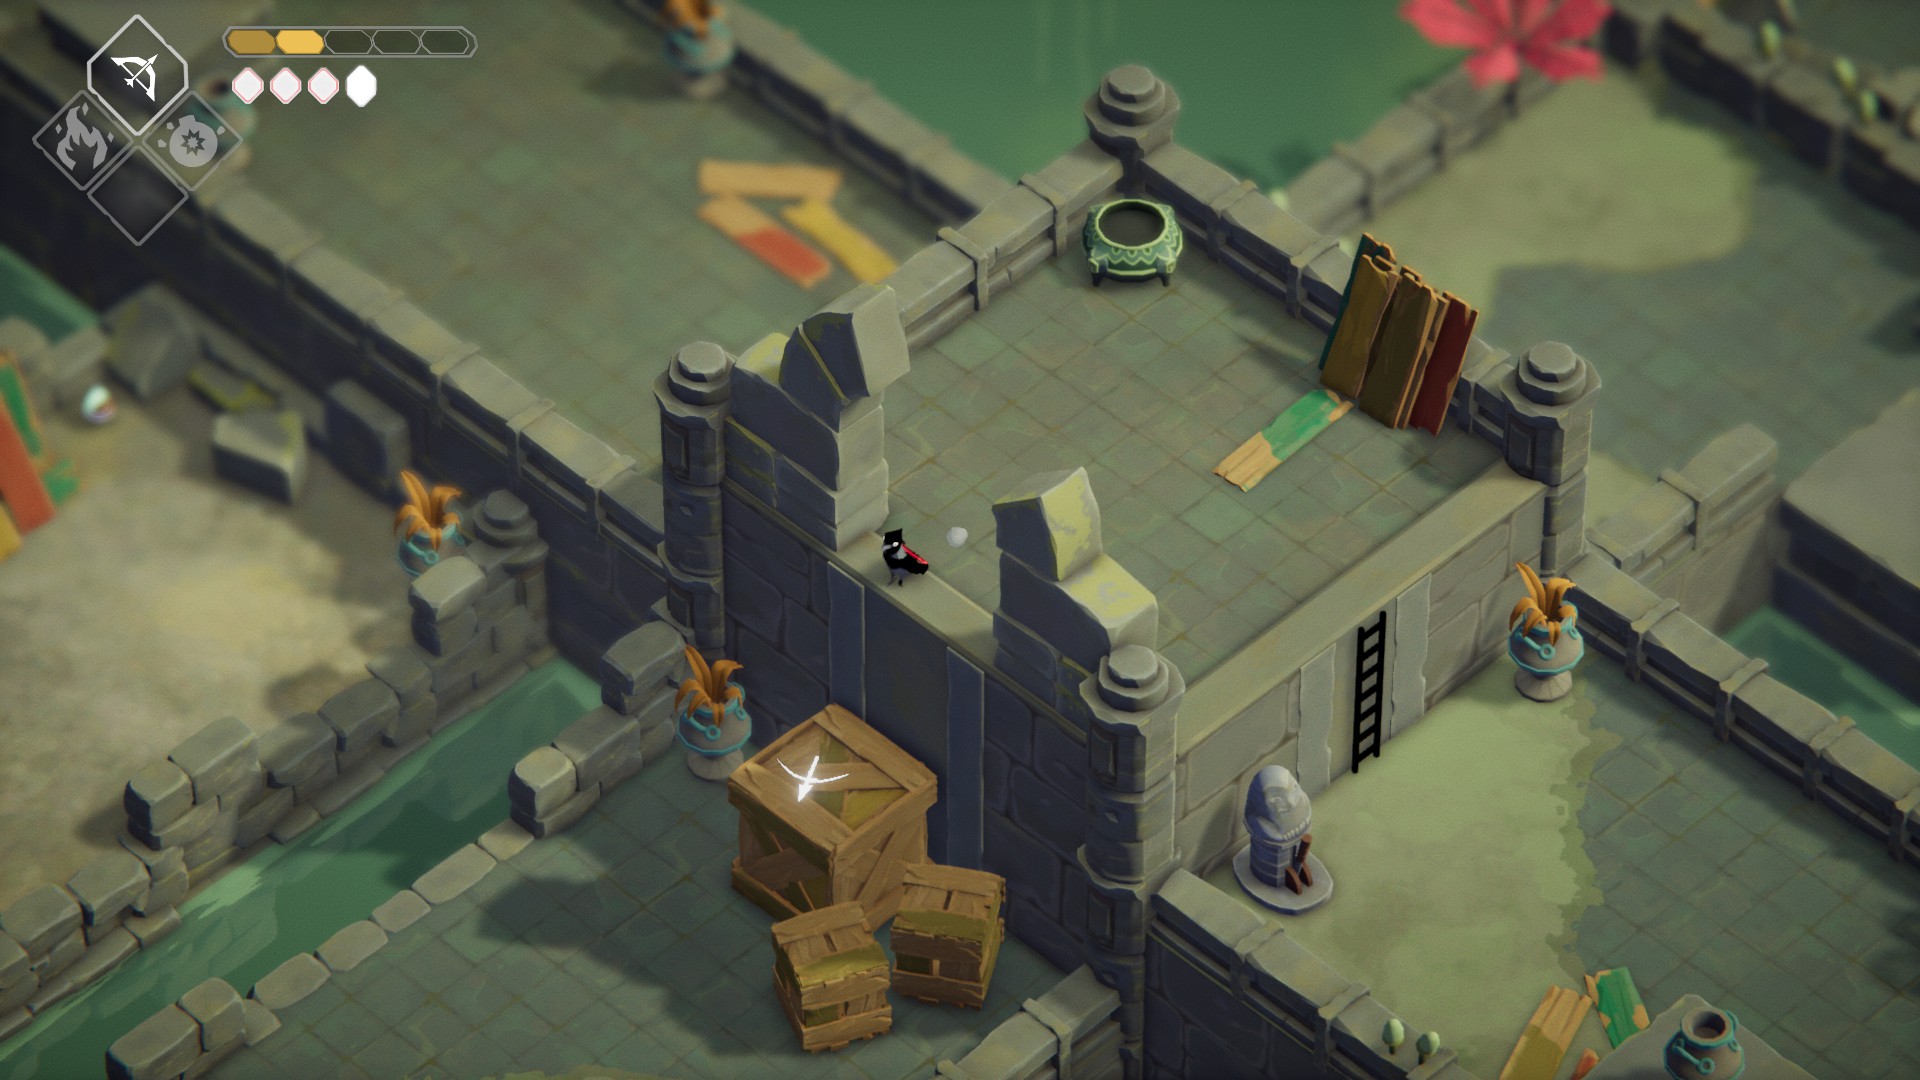
Pictured: cone smackin’
Continue and cross the next series of wooden bridges, and stop when you see a double metal archway. Head to the northwest edge of the wooden bridge, and shoot your bow through the arch to the southwest. Cross the bridge that appears to grab Magic Crystal shard from the shrine to the northwest.
Head northwest from the double archywayYou can hold shift to move the camera and reveal the cone you need to hit
Go back the way you came, then head southwest on the wooden bridge to the next stone platform.
Continue on the wooden bridges until you pass under a double metal archway and reach another stone platform. Stand on the southeastern edge of this platform and use your bow to shoot the cone to the southeast. Cross the bridge that appears, then go southwest through the archway and go south at the fork on the wooden bridge.
Going south at the fork
At the next stone platform, use your bow to shoot the cone to the northwest, then cross the bridge that appears and push the lever to drop the ladder. Climb up and pull the next lever, then climb that ladder and break the box at the top of the tower to reveal a Life Seed.
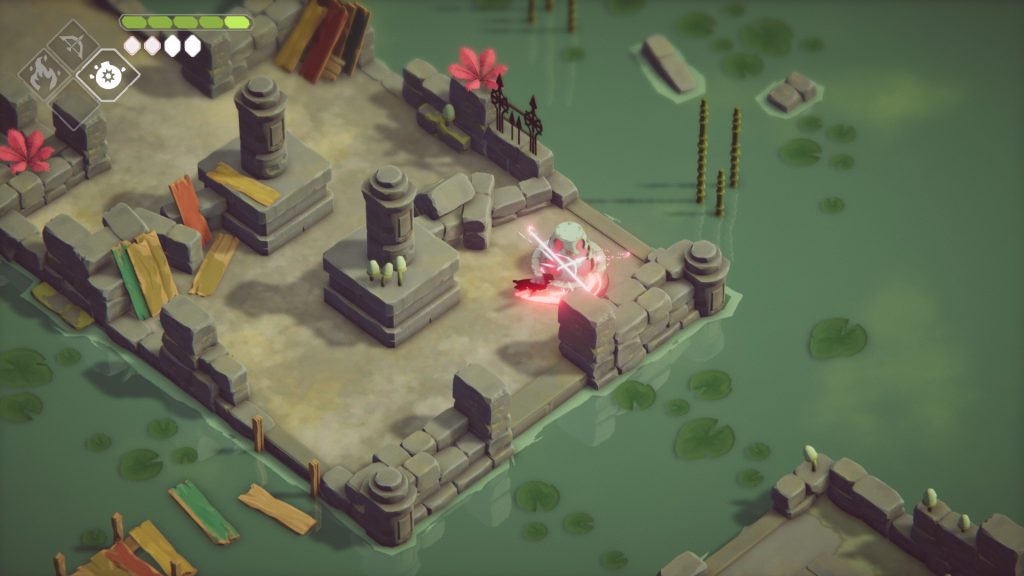
Drop down the ladder and go north around the corner to reveal a metal seal — do a plunging attack to enter the secret passage, and make your way through. Exit and grab the Large Soul Mass, then drop down to the other nearby Large Soul Mass. Head southwest through the archway (we’re retracing our steps), and again go south at the fork on the wooden bridge.
Dropping down to the second Soul Mass
Cross the bridge northwest to the ladder just like last time.
Head west and drop down. Use your bomb spell to break the wall here, then head around the corner to grab the Large Soul Mass. Now go back the way you came, across the bridge, then head south onto the next wooden bridge.
Smack the cone and follow the bridge that appears. Follow the bridges for awhile and you’ll reach a platform with a statue of the Frog King. Grab the Life Seed at the southern end of this platform, then head northeast and up the ladder. Go across the wooden bridge, then head northeast and break the boxes there to reveal a Life Seed. Then go southeast and push the lever, then head back to the Frog King Statue.
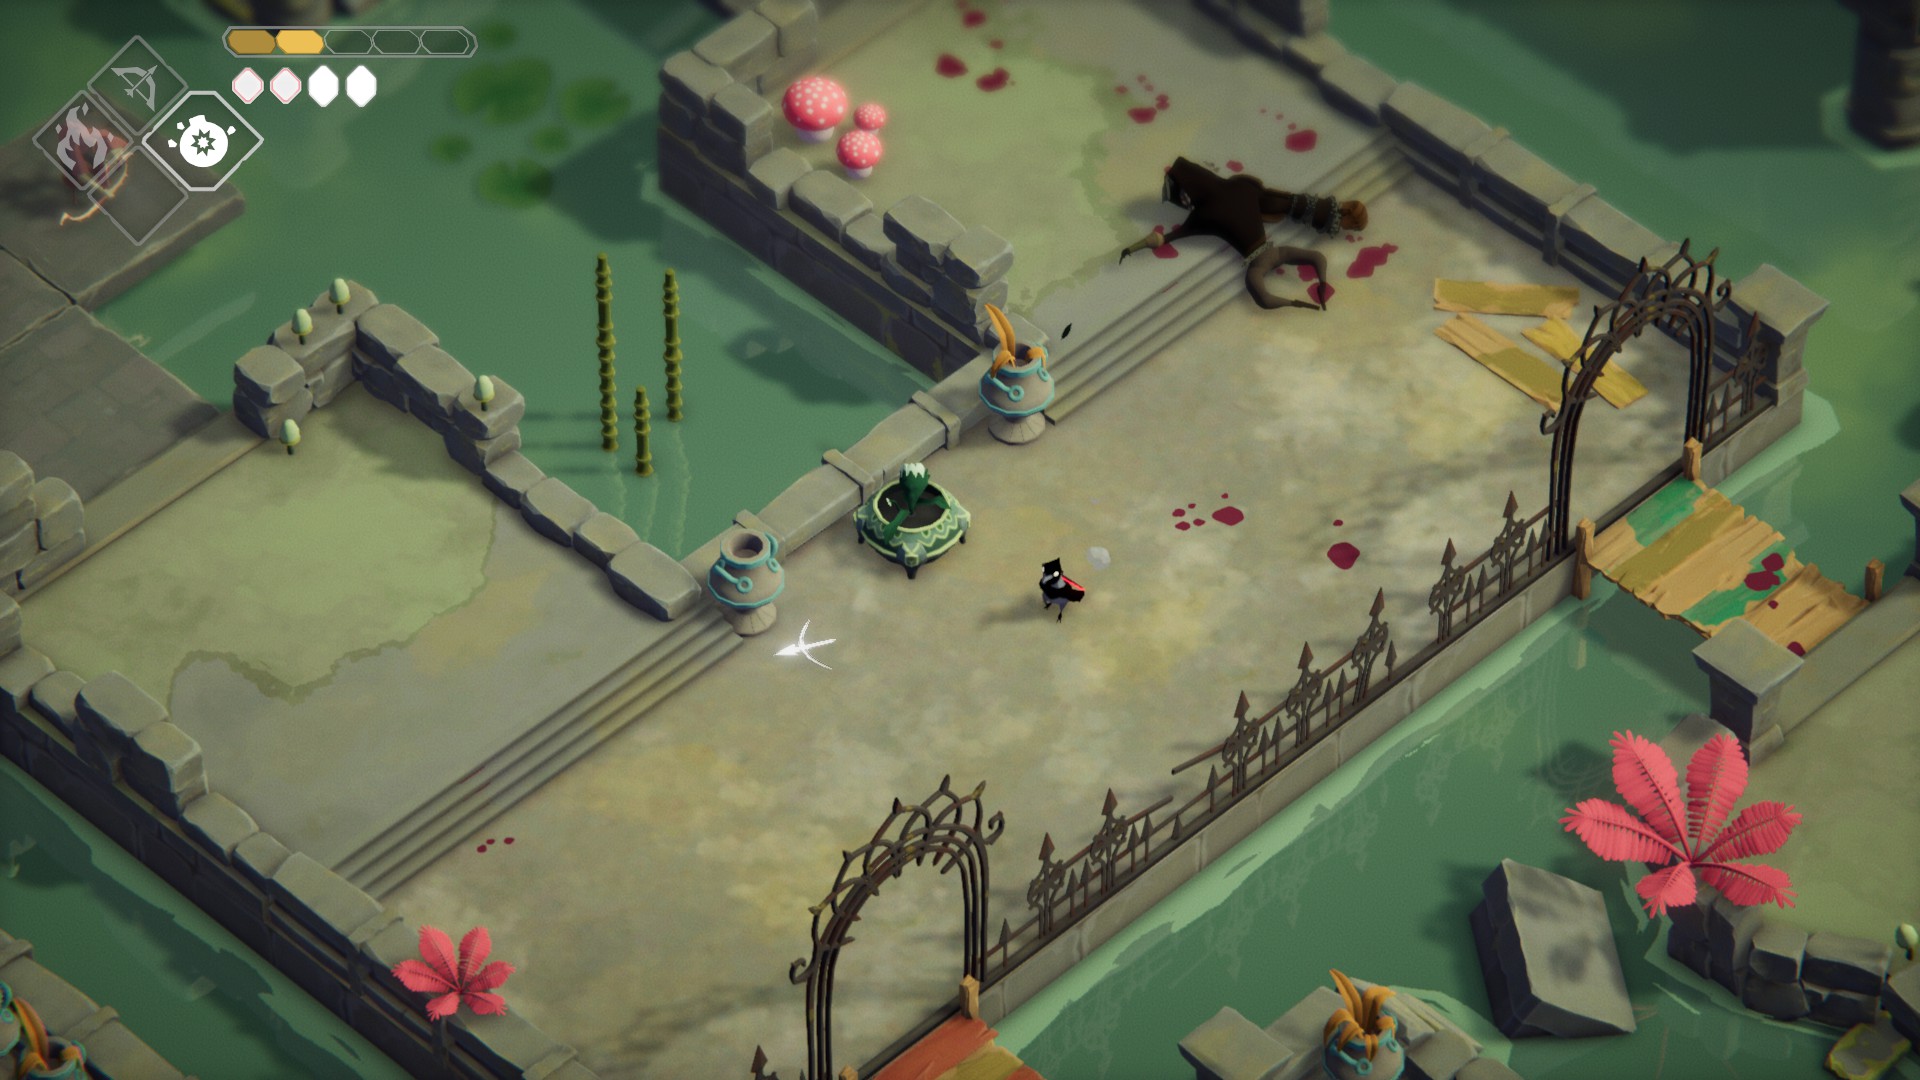
Hit the pink part of his weapon, then head across the bridge that appears. Continue southwest until you reach a wooden bridge. Cross it and continue south to the lever — push it, then head through the gate it opens. Continue southwest and cross the wooden bridge to reach the door back to the Hall of Doors. A cinematic will play, and afterwards, make sure you activate the door.
Use your bomb spell to open the way forward, then head up the nearby ladder and push the lever to open the gate. Hop down and head through the gate, then fight your way through the enemies here and up the stairs to the northeast. You’ll have a simple arena fight here against a new enemy type, a boomerang-guy. As long as you avoid the boomerang and only attack them once they’ve done their jump attack, these guys are actually pretty easy to take out.
Once you defeat the lone enemy, continue forward and then destroy the wall to the southeast. Push the lever beyond to drop the ladder, then climb up. Destroy the wall to the northwest and pass through the passageway, then defeat the enemies here and drop down near the two enemies to the southwest. Take out the two ranged-attack flowers, and the boomerang-fella, then continue through the now-open gate to the south.
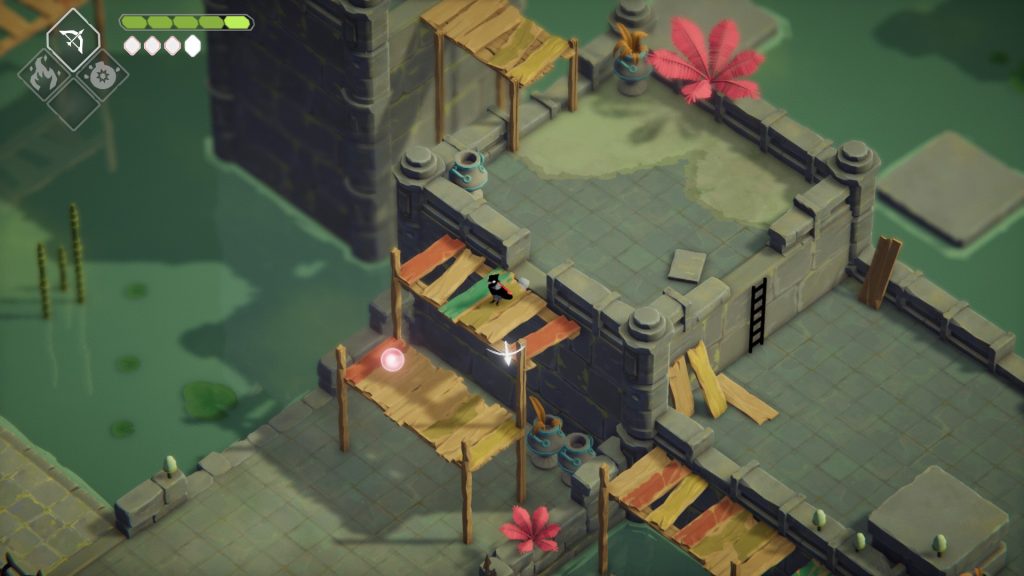
Just across the bridge you’ll find another cone — hit it — the bridge that appears is a shortcut back to the door. Cross the wooden bridge southwest, take out the enemies and use your bomb spell to destroy the wall to the northwest. Continue forward and through the enemies to the next breakable wall; destroy it as well then continue northeast. Cross the small wooden bridge and climb the ladder, and push the lever to drop a ladder that acts as another shortcut back to the door.
The ladder that leads to the shortcut ladder
Break the nearby wall, and continue northeast to the next cone. Hit it and cross the bridge that appears, then continue forward, hitting/shooting the pink mace heads you come across and crossing the bridges they reveal. Once you reach the stone platform, a bunch of archers will spawn. Use the cover as you take them out, then head northwest and push the lever to drop a ladder. Climb the ladder, then drop down to the west.
The drop down to the west
Use your bomb spell on the wall across the short bridge, then kill the enemies here and grab the Life Seed to the northeast. Then go back across the bridge and head southwest until you find another pink cone. Smack it, cross the bridge that is revealed, then cross it and smack the cone there as well. You’ve opened another path back to the hall of doors to the east, but instead go west at the Life Seed pot and then northwest across the platforms.
East leads back to the door, west is the way forward
There’s a lot of enemies at the other side of the platforms, including a golden shield-knight, but you can just run past them if you want and push the lever to the northeast. Climb up the ladder it drops, then head northeast and smack the cone to open another shortcut back. Then head across the small wooden bridge that leads northwest, and take out all the enemies that spawn here. Then use your bow to activate the cone to the northwest, and cross one of the bridges it reveals.
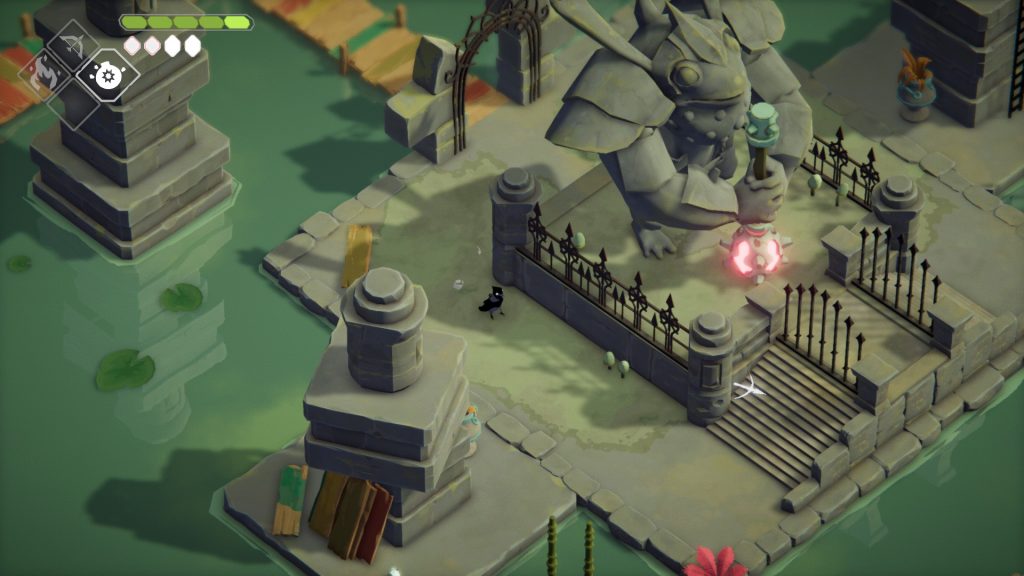
Continue northwest and you’ll cross another bridge and then enter a large building. Activate the door here, and go get any upgrades/healing you may need before you continue northwest to the boss fight with the Frog King.
How to Beat the Frog King
The Frog King has two distinct phases. We’ll go over how to avoid (and deal damage) in both of his phases.
Phase 1 – Armor On
The Frog King only has one attack pattern in this phase. He will hop onto his mace and follow you around, destroying tiles. Simply run or roll away from him to avoid damage. After a few hops, he’ll do a final leaping attack — roll as he is about to land, then quickly run around him and attack his back. If you do this successfully, you’ll know, as he’ll hop into the air and go under water.
After a few moments, the tile you’re standing on will start to shake — get off of it, and the Frog King will pop through it and repeat the cycle.
Note that each time you damage his back, he’ll do more hops on the following cycle. Once you’ve hit him enough times on his back, he’ll lose his armor, which will begin phase 2.
Phase 2 – Armor Off
The Frog King’s attacks in this phase depend on which side of the platform he is on. When he is on the northwest of the platform, he will launch projectiles that destroy the tiles they land on. You can get a few attacks in on him once he’s close to the platform, but you should make sure you’re moving every time he fires a projectile. You can also try to use your bow while he’s doing this attack, but it’s best to focus on staying alive.
When he’s on the southeastern side of the platform, he’ll do a sucking attack where he pulls off tiles. You’ll be able to maintain whatever distance you have from him, or move towards him, but you won’t be able to create space once he starts this attack, so it’s best to start as far away from his as possible. You can still sneak a few hits in when he approaches the platform, however,. You can also try to use your bow while he’s doing this attack, but it’s best to focus on staying alive.
You can also use your bomb spell on him while he’s sucking, and he’ll choke, allowing you to get a few free hits in. Credit for this tip goes to EIP user Romer. Note that making him swallow a bomb is the only way to get the “Meal for a King” achievement.
No matter which side he’s on, once he finishes his attack, he’ll leap up onto the platform. Make sure you’re standing somewhere that has nearby tiles you can roll onto, and simply roll once he’s about to land on you. Get as many hits in on him as you can before he leaps back in the water — you can win this fight even if this is the only time you attempt to damage the Frog King.
Once he’s back in the water, he’ll give you ample time to use your bow — aim for the mace on his back to replace the missing tiles, otherwise you’ll have a tough time staying dry when he begins his next round of attacks. Make sure you fire off a few more shots from your bow as he approaches the platform again.
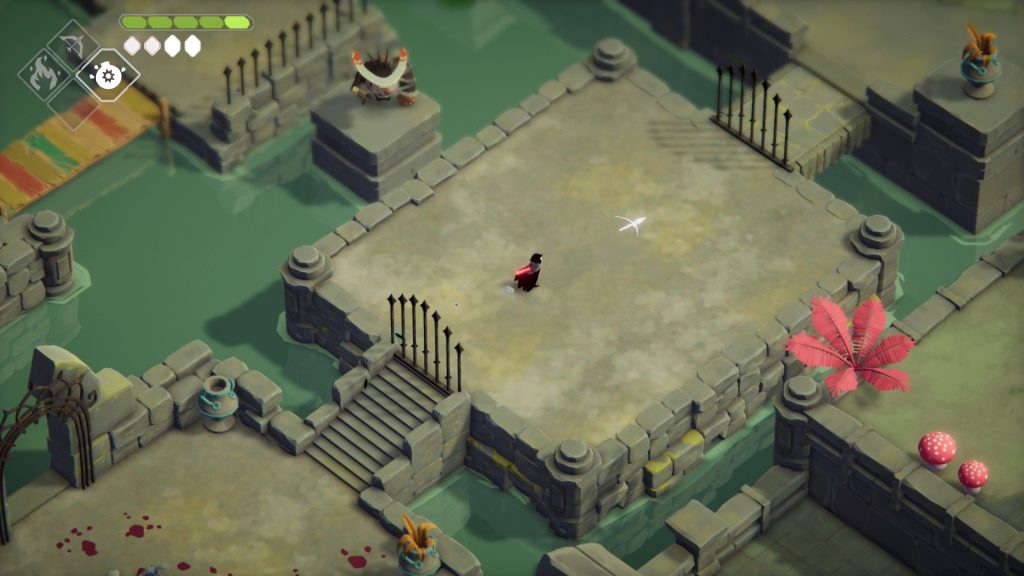
Once the Frog King is defeated, head up the ladder to the northwest and grab the Giant Arrowhead collectible. Then head southeast and through the doorway, then take the door back to the Hall of Doors.
Unabashed FromSoftware fanboy still learning to take his time with games (and everything else, really). The time he doesn't spend on games is spent on music, books, or occasionally going outside.